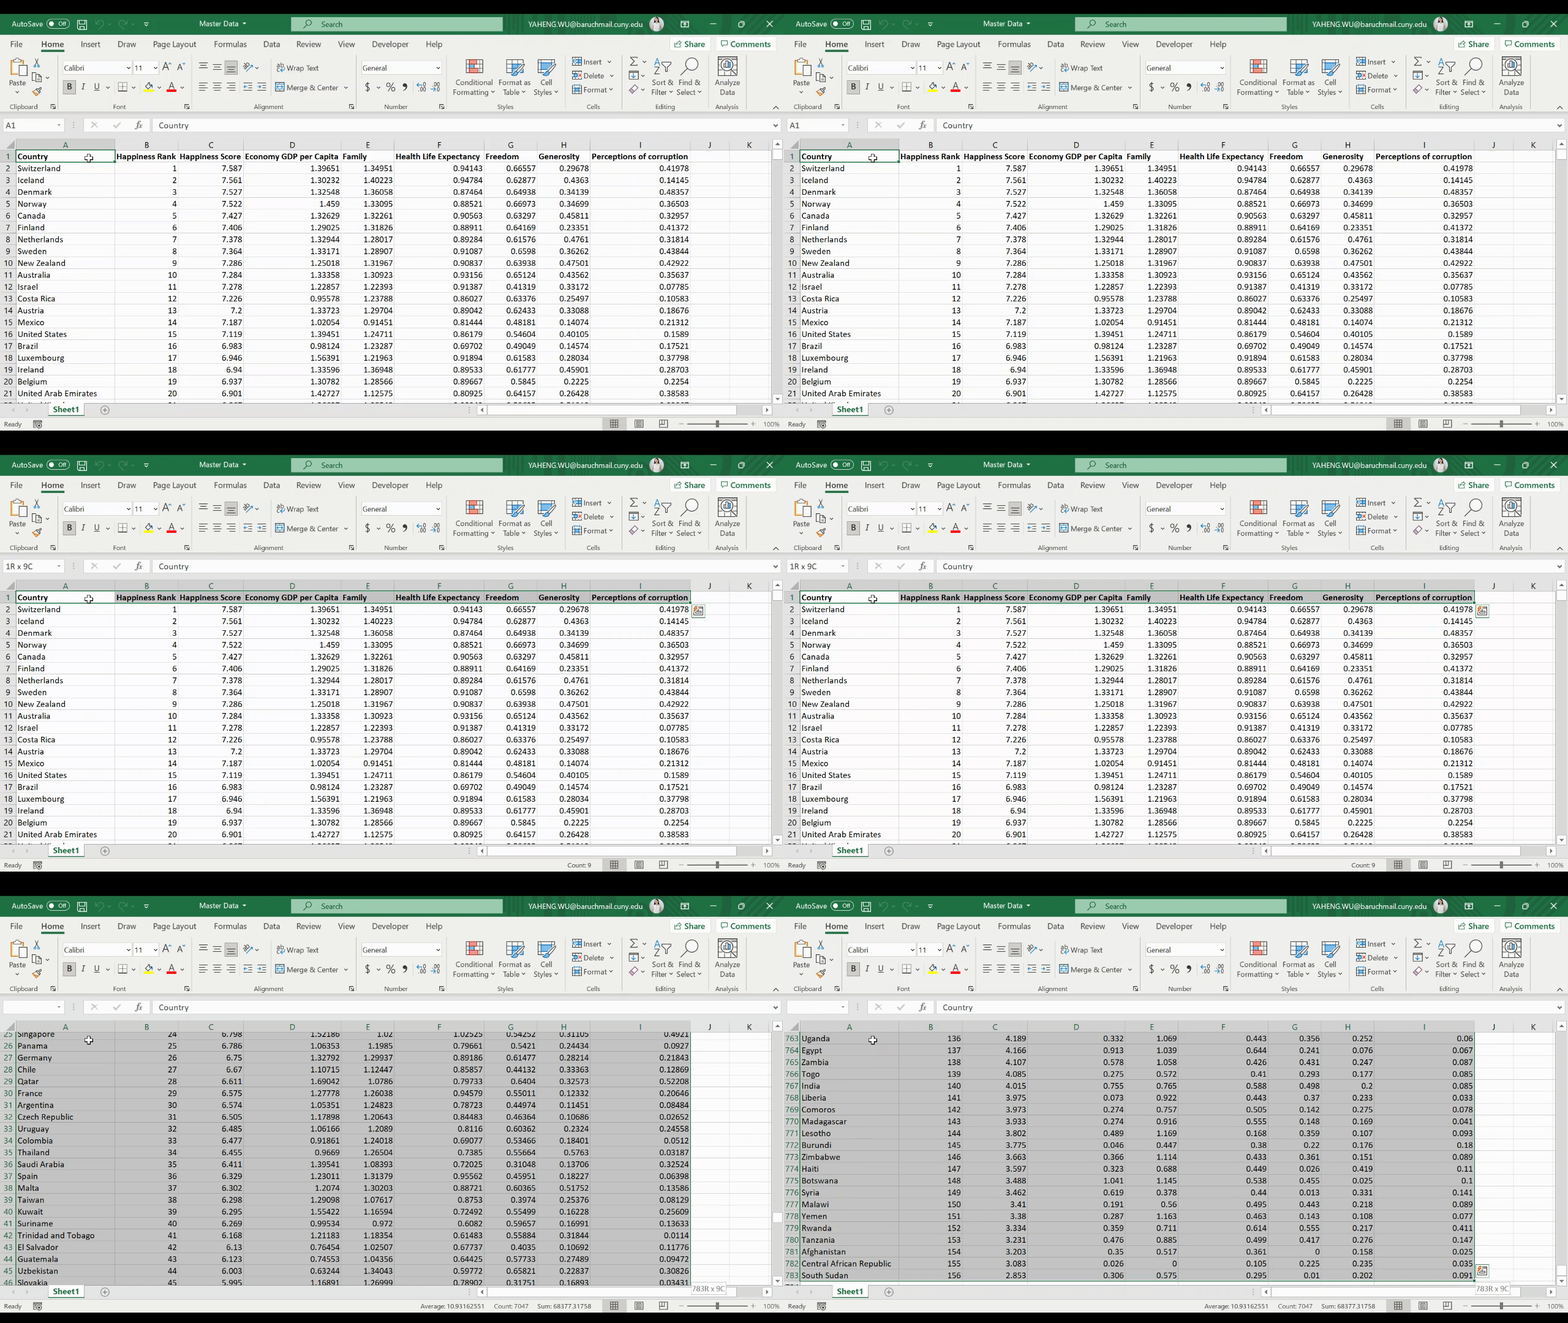
Suppose you need to combine many different Excel workbooks’ data into one workbook so that you can analyze the combined data. For example, in some situations, data from different years are separately stored in different Excel workbooks, like the 2015 to 2019 World Happiness data from Kaggle. In this case, each year’s data is stored in a separate Excel workbook. It would be convenient to automatically open all Excel workbooks and copy the data into one workbook using just one click. VBA can help with that.

In order to combine multiple workbooks into one, you should begin by opening the VBA editor. On the “Developer” tab located on the top ribbon of Excel, you can find “Visual Basic.” Once you click “Visual Basic,” there will be a drop-down menu on the top left of the new screen where you can find “Module.” Once you click this, it opens the VBA editor. Alternatively, you can press “Alt + F11” to open the VBA editor. Then, write the following code in the VBA editor:
Sub MasterData()

'Declare variables in different data types
Dim strFolder As String
Dim strFileSpec As String
Dim counter As Integer

'Specify the folder path where we saved all files
strFolder = "C:\Users\wuyah\Desktop\MutipleFilesToMasterFile\"

'Specify all files that have the word "Happiness" in the name
strFileSpec = strFolder & "*Happiness*" & ".xlsx"

'Retrieve the first file inside the folder, which, in our case, is "2015 World Happiness Report.csv"
strFilename = Dir(strFileSpec)

'Turn off screen updating
Application.ScreenUpdating = False

'We set counter as 1
counter = 1

'Loop through each file as long as the length of the file name is greater than 0
Do While Len(strFilename) > 0

'Open the file
Workbooks.Open (strFolder & strFilename)

'Activate the cell A2 in the opened file
Range("A2").Activate

'Get the last row number
numRows = Range("A:A").Cells.SpecialCells(xlCellTypeConstants).Count

If counter <= 1 Then

'Copy the range including header from A1 to the last row number of column I
Range(Cells(1, "A"), Cells(numRows, "I")).Copy

'Activate the "Master Data" workbook
Workbooks("Master Data.xlsm").Activate

'Activate cell A1
Cells(Rows.Count, "A").End(xlUp).Activate

'Otherwise, if the counter is greater than 1, it means we are looping the second file
Else

'Since we already copied the header in the first loop, we would only need to copy from "A2 to the last row number of column I"
Range(Cells(2, "A"), Cells(numRows, "I")).Copy

'Activate the "Master Data" workbook
Workbooks("Master Data.xlsm").Activate

'Activate the next row of the last filled row in column A
Cells(Rows.Count, "A").End(xlUp).Offset(1, 0).Activate

End If

'Paste data as value
ActiveCell.PasteSpecial (xlPasteValues)

'Get the next file
strFilename = Dir()

'Increment the counter
counter = counter + 1

'Back to while loop
Loop

'After all loops, turn on screen updating
Application.ScreenUpdating = True

'Activate the "Master Data" workbook
Workbooks("Master Data.xlsm").Activate

'Auto-adjust the column width
Range("A:I").EntireColumn.AutoFit

'Make header font bold
Range("A1:I1").Font.Bold = True

'Activate cell A1
Range("A1").Activate

End Sub
The result of the code above looks like this:

The code above is useful in many situations where combining data from multiple Excel workbooks is necessary. This will not only help you be more productive, but it will also come in handy for your entire team.